Student work, teacher step-by-step and samples of some projects. Be my guest, share, create, pay it forward."Tell me and I forget, teach me and I remember, INVOLVE me and I LEARN"
Saturday, February 25, 2012
Wednesday, February 22, 2012
Egyptian Sculpture Step by Step
 |
| After looking at Egyptian art, design your sculpture of a historical Egyptian God or recognizable figure. Draw a front view and side view to show it's contour. |
 |
| Add traditional color and decorations, |
 |
| Show both the front view and profile in color. |
 |
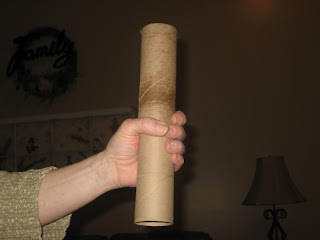
| Find the main form or armature that you will be using. |
 |
| Create the shape that will be used to express your character. |
 |
| Use newspaper or foil to add detail to your sculpture. |
 |
| Attach with glue or tape. |
 |
| Now you can see the Jackal snout and its tail. When you get the form the way you like it, it's time to paper mache. |
 |
| Using a flour and glue mixture, cover your form with two coats of paper mache. |
 |
| Let dry. Then, its time to paint. Refer to your color sketch for the finishing touches. |
 |
| Jackal sculpture Student Work |
Sunday, February 12, 2012
Tangle Value Picture - Steps
Tuesday, February 7, 2012
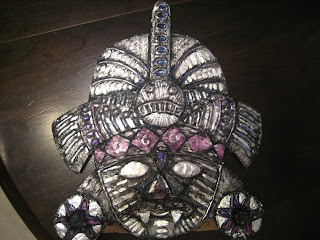
Aztec Mask
A visual Step-by-Step tutorial.
 |
| Choose photo reference, and draw your design on cardboard. |
 |
| Draw in symmetrical designs with geometric shapes. |
 |
| Cut out shapes to be emphasized. |
 |
| Add texture. |
 |
| Add glue to the flat surfaces and press down aluminum foil around features carefully. |
 |
| Continue. |
 |
| Add extra textures with a blunt pencil. |
 |
| Add color with permanent markers. |
 |
| Cover with black acrylic paint. |
 |
| Rub off carefully leaving some areas with darker paint. |
 |
| Let paint dry completely. |
 |
| Rub off more black paint to create shiny areas |
 |
| Create a back stand |
 |
| Attach to back of mask. |
Subscribe to:
Comments (Atom)


